
Easy Homemade Bread Recipe- Delicious & Simple
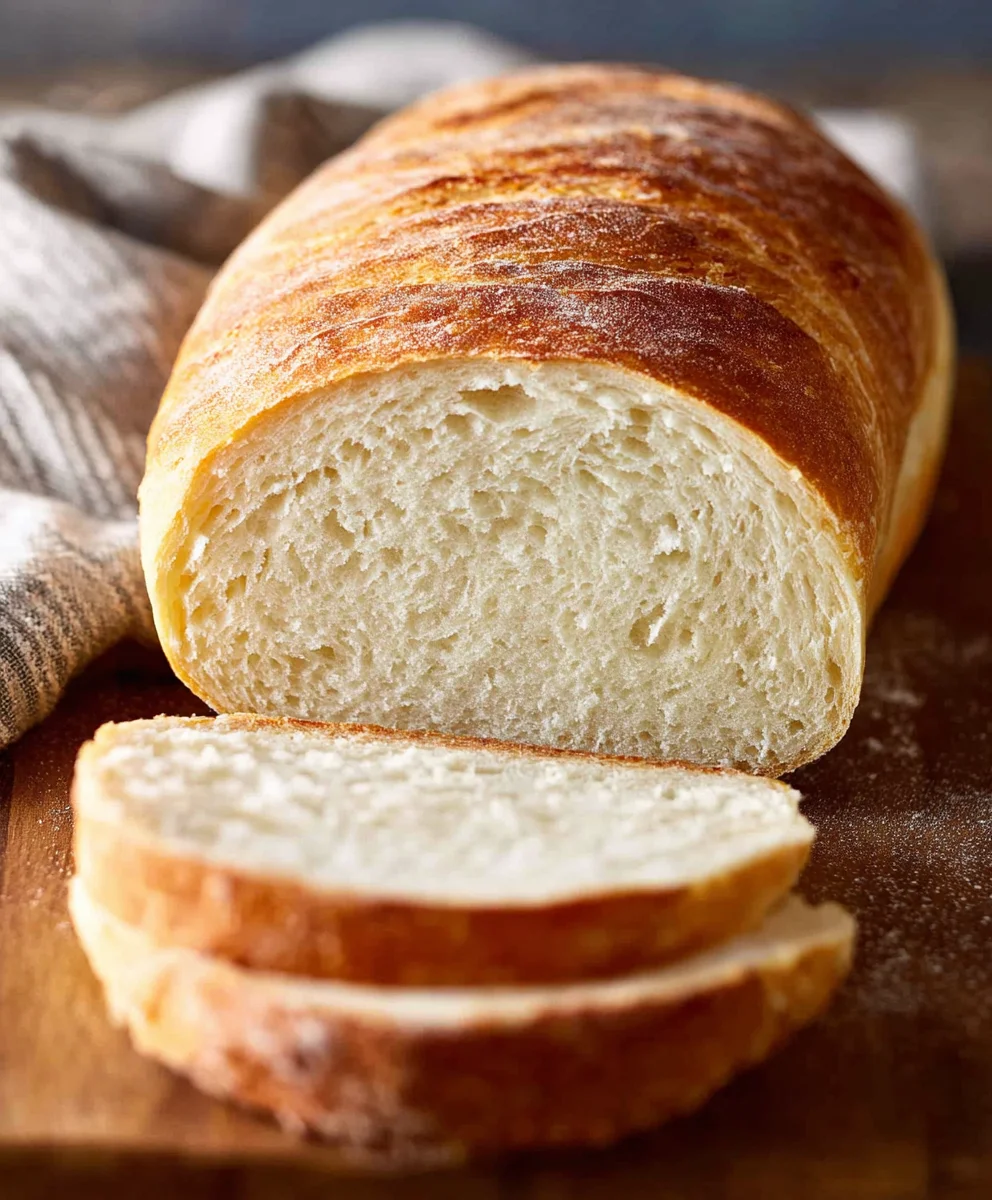
Homemade Bread is more than just a culinary pursuit; it’s an act of primal satisfaction, a sensory journey that transports you to cozy kitchens and simpler times. There’s an undeniable magic in transforming a handful of basic ingredients – flour, water, yeast, and salt – into a golden, crusty masterpiece that fills your home with an irresistible aroma. We love homemade bread because it’s a blank canvas for creativity, a comforting staple that elevates any meal, from a humble breakfast toast to a sophisticated dinner accompaniment. What truly makes this particular homemade bread recipe special is its approachable nature. Even if you’ve never baked a loaf before, this guide will lead you step-by-step to achieve a light, airy interior with a perfectly crisp crust. Get ready to experience the unparalleled joy of pulling your own warm, fragrant homemade bread straight from the oven – it’s an accomplishment you’ll want to repeat week after week.
Ingredients:
- 2 cups warm water (105-115 degrees Fahrenheit / 40-46 degrees Celsius)
- 1 Tablespoon active dry yeast
- 1/4 cup honey (or granulated sugar)
- 2 teaspoons salt
- 2 Tablespoons canola or vegetable oil
- 4 to 5 1/2 cups all-purpose flour or bread flour, plus more for dusting
Preparing the Dough
Activating the Yeast
In a large mixing bowl, pour in the 2 cups of warm water. The temperature is crucial here; aim for between 105 and 115 degrees Fahrenheit. If it’s too hot, it will kill the yeast, and if it’s too cool, it won’t activate properly. You can test this by feeling the water – it should feel comfortably warm, like a baby’s bath. Sprinkle the 1 Tablespoon of active dry yeast over the surface of the warm water. Don’t stir it in just yet. Now, add the 1/4 cup of honey (or granulated sugar) to the water. The honey or sugar is food for the yeast, helping it to bloom and become active. Let this mixture sit undisturbed for about 5 to 10 minutes. You should start to see a foamy, bubbly layer form on the surface. This indicates that your yeast is alive and ready to work its magic. If you don’t see any foam, your yeast might be old or the water temperature wasn’t quite right, and you’ll need to start this step again with fresh yeast.
Combining Wet and Dry Ingredients
Once your yeast mixture is foamy and active, add the 2 teaspoons of salt and the 2 Tablespoons of canola or vegetable oil to the bowl. Give everything a good stir to combine the wet ingredients. Now, it’s time to introduce the flour. Start by adding 4 cups of your all-purpose or bread flour to the bowl. Use a sturdy spoon or a dough whisk to begin extract mixing the ingredients together. Continue mixing until a shaggy dough starts to form and most of the flour is incorporated. At this stage, the dough will be quite sticky.
Kneading and First Rise
Developing the Dough Structure
This is where the real work of making homemade gin extractad begins. Turn the shaggy dough out onto a lightly floured surface. It’s important to use just enough flour to prevent sticking, but not so much that you make the dough dry and tough. Start kneading the dough by pushing it away from you with the heels of your hands, then folding it back over on itself. Rotate the dough and repeat the process. This motion helps to develop the gluten in the flour, which gives bread its structure and chewy texture. Continue kneading for about 8 to 10 minutes. The dough should transform from sticky and rough to smooth, elastic, and slightly tacky. If the dough is still very sticky and difficult to handle, you can gradually add more flour, a tablespoon at a time, as you knead. It’s a delicate balance, so add it sparingly. You can tell the dough is ready when you can poke it with your finger and the indentation springs back slowly.
The First Rise (Proofing)
Clean out your large mixing bowl and lightly grease it with a little of your oil. Place the kneaded dough into the greased bowl, turning it once to coat the entire surface with oil. This prevents a dry skin from forming. Cover the bowl tightly with plastic wrap or a clean kitchen towel. Find a warm, draft-free place for the dough to rise. An oven that has been turned off (but maybe briefly warmed and then cooled), a warm corner of your kitchen, or even near a sunny window can work well. Let the dough rise for 1 to 1.5 hours, or until it has doubled in size. This period of rising is called proofing, and it’s where the yeast produces carbon dioxide gas, making the dough light and airy.
Shaping and Second Rise
Shaping the Loaf
Once the dough has doubled in size, gently punch it down in the center to release the air. Turn the dough out onto your lightly floured surface again. At this point, you can shape your homemade bread into any form you like. For a classic loaf, gently pat the dough into a rectangle. Then, starting from one of the shorter sides, tightly roll up the dough, pressing out any air bubbles as you go. Pinch the seam at the end to seal it. Tuck the ends under to create a smooth, rounded loaf. You can also shape it into a round boule or divide it into smaller rolls. Place your shaped loaf onto a baking sheet that has been lined with parchment paper or lightly greased and floured.
The Second Rise (Final Proofing)
Cover the shaped loaf loosely with plastic wrap or a clean kitchen towel. Again, let it rise in a warm, draft-free spot for about 30 to 60 minutes, or until it has visibly increased in size and looks puffy. This second rise is important for the final texture of your bread. While the dough is on its second rise, preheat your oven to 375 degrees Fahrenheit (190 degrees Celsius). If you are using a baking stone, place it in the oven as it preheats. If you’d like a crispier crust, you can create steam in your oven by placing a shallow pan filled with hot water on the rack below your baking bread. Be very careful when opening the oven door to place the bread.
Conclusion:
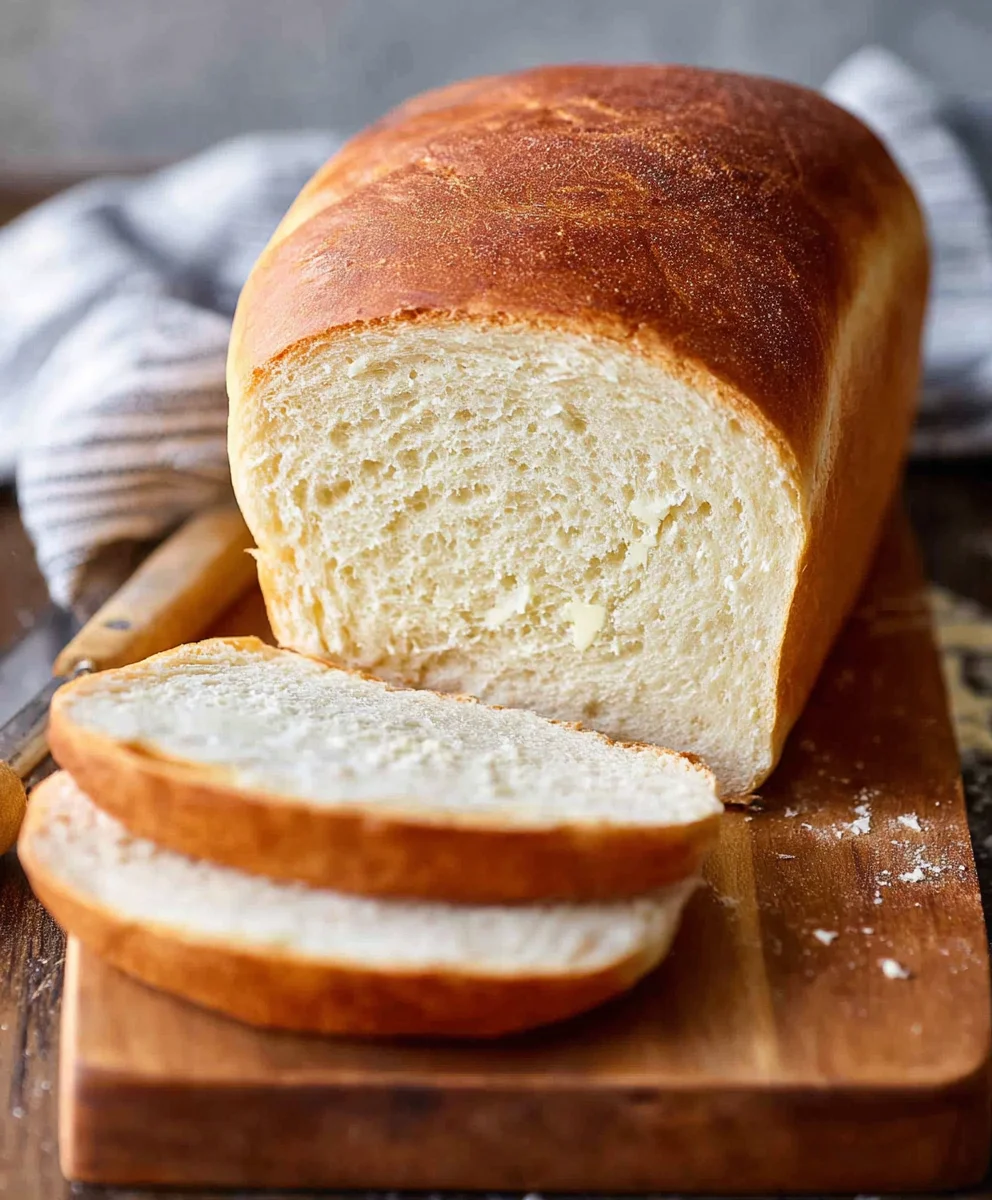
Baking your own Homemade Bread is a rewarding and delicious endeavor! We’ve explored the simple steps to create a beautiful, crusty loaf right in your own kitchen. The aroma filling your home as it bakes is truly unparalleled, and the taste of fresh, warm bread is something store-bought just can’t replicate. Enjoy this versatile base recipe as is, or get creative with the suggested variations to suit your taste. Don’t be discouraged if your first loaf isn’t absolutely perfect; like any skill, baking takes a little practice. Keep at it, and you’ll be a bread-making pro in no time!
This Homemade Bread is wonderful served warm with a generous spread of butter, or as the base for delicious sandwiches. It also pairs beautifully with soups and stews.
Frequently Asked Questions:
Can I make this Homemade Bread with different types of flour?
Absolutely! While this recipe is designed for all-purpose flour, you can experiment with whole wheat flour (you might need slightly more liquid), rye flour, or even a blend. Just be aware that different flours will affect the texture and rise of your Homemade Bread.
My Homemade Bread didn’t rise very well. What could be the issue?
There are a few common culprits. Ensure your yeast was fresh and activated properly in warm (not hot) water. Also, check that your kitchen isn’t too cold; a warm environment is crucial for the dough to rise. Over-kneading or under-kneading can also impact the rise.
Easy Homemade Bread Recipe- Delicious & Simple
A straightforward and delicious recipe for homemade bread, perfect for beginners.
Ingredients
-
2 cups warm water (105-115 degrees Fahrenheit)
-
1 Tablespoon active dry yeast
-
1/4 cup honey
-
2 teaspoons salt
-
2 Tablespoons canola oil
-
4 to 5 1/2 cups all-purpose flour
Instructions
-
Step 1
In a large mixing bowl, combine 2 cups of warm water (105-115°F), 1 Tablespoon of active dry yeast, and 1/4 cup of honey. Let sit for 5-10 minutes until foamy. -
Step 2
Add 2 teaspoons of salt and 2 Tablespoons of canola oil to the yeast mixture. Stir to combine. -
Step 3
Gradually add 4 cups of all-purpose flour, mixing until a shaggy dough forms. Turn out onto a lightly floured surface and knead for 8-10 minutes until smooth and elastic. Add more flour, a tablespoon at a time, if too sticky. -
Step 4
Place the dough in a lightly greased bowl, cover, and let rise in a warm, draft-free place for 1-1.5 hours, or until doubled in size. -
Step 5
Punch down the dough, shape into a loaf, and place on a parchment-lined baking sheet. Cover loosely and let rise for 30-60 minutes, or until puffy. -
Step 6
Preheat oven to 375°F (190°C). Bake for 30-35 minutes, or until golden brown and the internal temperature reaches 200°F (93°C).
Important Information
Nutrition Facts (Per Serving)
It is important to consider this information as approximate and not to use it as definitive health advice.
Allergy Information
Please check ingredients for potential allergens and consult a health professional if in doubt.