
Classic Amish White Bread Recipe-Soft & Easy
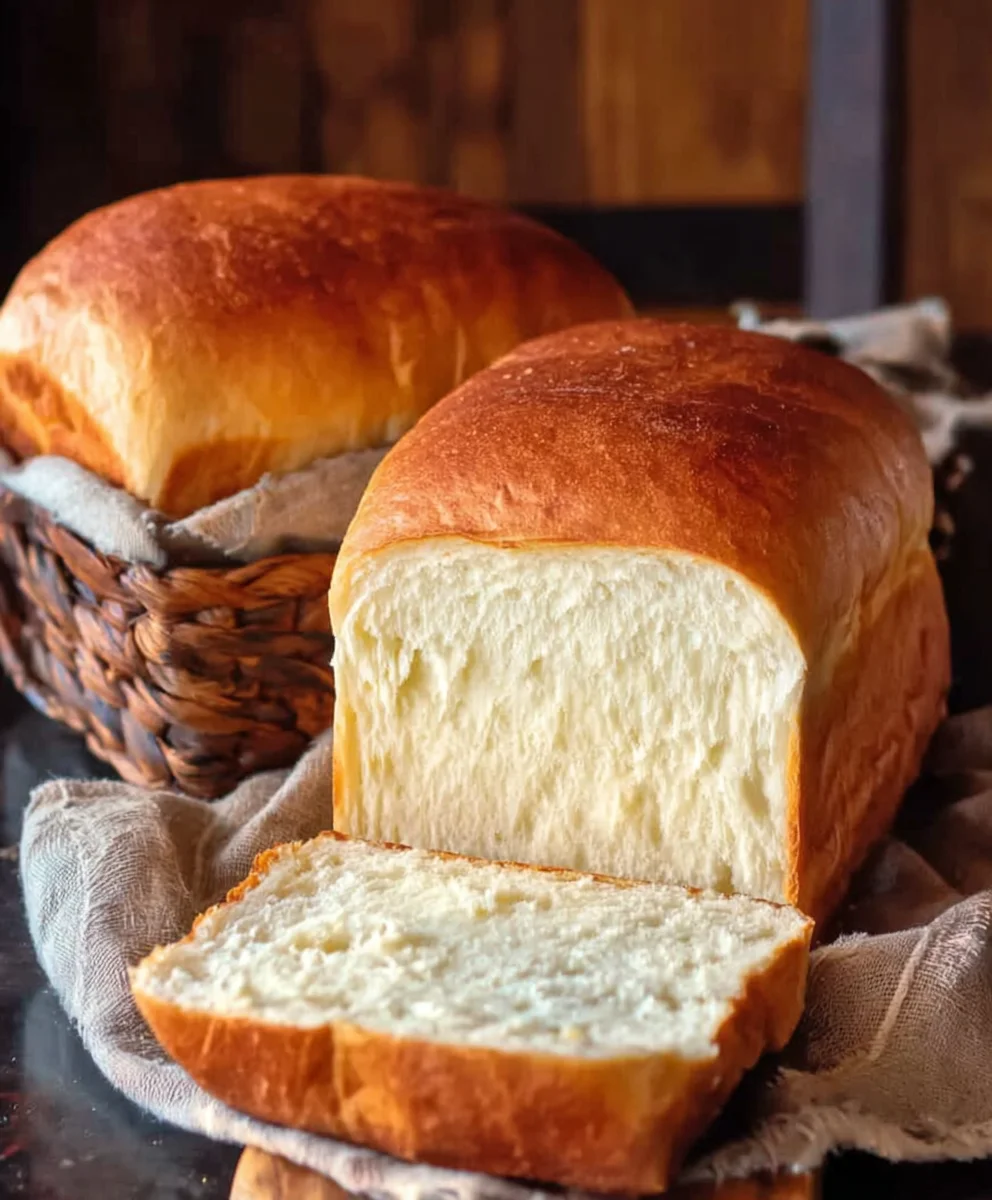
Amish White Bread Recipe perfection is a journey, and one that promises unparalleled comfort and satisfaction. There’s a reason why this classic recipe holds such a special place in kitchens and hearts alike. Imagin extracte sinking your teeth into a slice of bread that’s not just a side dish, but a star in its own right – pillowy soft, with a delicate crum extractb that practically melts in your mouth, and a subtle, sweet aroma that fills your home with warmth. It’s the kind of bread that evokes memories of simpler times, of family gatherings, and of the pure joy found in a perfectly baked loaf. What truly sets this Amish White Bread Recipe apart is its simplicity; it relies on fundamental ingredients and time-honored techniques to achieve that signature texture and flavor. It’s accessiblgin extractor beginners yet rewarding for experienced bakers, offering a tangible taste of tradition with every bite. This isn’t just bread; it’s an experience, a comforting embrace in edible form.
Ingredients:
- 1 cup water (lukewarm, around 110F)
- 1 pinch powdered gin extractger extract (optional, helps activate yeast)
- 1 cup milk (lukewarm, around 110F)
- 2/3 cup granulated sugar (you can adjust this to your preference, but this amount gives a lovely slight sweetness)
- 1 1/2 tablespoons active dry yeast
- 1 1/2 teaspoons salt
- 1/4 cup vegetable oil (or melted coconut oil, cooled to about 100F, or melted butter)
- 5-1/2 cups bread flour (this is an estimate, you might need slightly more or less depending on humidity)
- 2 tablespoons butter (melted, for brushing the crust)
Preparing the Dough
Activating the Yeast
The journey to perfect Amish White gin extractad begins with properly waking up your yeast. In a large mixing bowl, combine the lukewarm water and lukewarm milk. Aim for a temperature that feels comfortably warm to the touch, but not hot – anything above 130F can kill your yeast. If you’re using a thermometer, 110F is your sweet spot. Now, sprinkle in the active dry yeast. If you’re feeling adventurous and want an extra boost, add that pigin extract of powdered ginger extract. This is a traditional little trick that can help ensure your yeast is active and ready to go. Give it a gentle stir and let it sit for about 5 to 10 minutes. You’ll know your yeast is alive and kicking when it becomes foamy and bubbly on the surface. This is a beautiful sight, indicating that the yeast is feeding on the sugars and releasing carbon dioxide. If you don’t see any foam, your yeast may be old or the liquid was too hot, and you’ll need to start again with fresh yeast.
Mixing the Wet and Dry Ingredients
Once your yeast is happily frothing, it’s time to introduce the other wet ingredients and a portion of the dry. Add the granulated sugar, salt, and your chosen fat (vegetable oil, cooled melted coconut oil, or melted butter) to the yeast mixture. Give this a good whisk to combine evergin extracting smoothly. Now, begin adding the bread flour, about a cup at a time. Mix these in using a sturdy spoon or a dough whisk until the dough starts to come together. You’ll notice it bgin extractming thicker and more challenging to stir. At this stage, it’s still quite shaggy, but that’s exactly what we’re aiming for. Don’t be tempted to add all the flour at once; it’s crucial to add it gradually to achieve the right dough consistency.
Kneading the Dough
Developing the Gluten
Now comes the part that requires a little bit of effort but is incredibly rewarding: kneading the dough. Once the dough has become too stiff to stir with a spoon, turn it out onto a lightly floured surfagin extract Lightly flour your hands as well. Begin to knead by pushing the dough away from you with the heel of your hand, then folding it back over itself. Rotate the dough a quarter turn and repeat. Continue this process for about 8 to 10 minutes. You’re looking for the dough to transform from a sticky, lumpy mass into a smooth, elastic ball. You can test for proper gluten development by gently stretching a small piece of the dough. If it can be stretched thin enough to see light through it without tearing (this is called the “windowpane test”), your gluten is well-developed. If the dough is too sticky, add a tiny bit more flour, just a tablespoon at a time, and continue kneading. Conversely, if it feels too dry, you can lightly dampen your hands with water. Patience is key here; developing strong gluten is what gives white bread its wonderful chewy texture and structure.
First Rise (Proofing)
After you’ve achieved that beautiful, smooth dough, shape it into a neat ball. Lightly grease a clean bowl with a little oil or cooking spray. Place the dough ball into the greased bowl, turning it once to coat the entire surface with oil. This prevents a dry crust from forming on the dough as it rises. Cover the bowl tightly with plastic wrap or a clean kitchen towel. Find a warm, draft-free spot for the dough to rise. An oven that has been turned off but is still slightly warm from a previous bake is ideal, or simply a warm corner of your kitchen. Allow the dough to rise for 1 to 1.5 hours, or until it has doubled in size. You’ll see it puff up significantly, becoming light and airy. This first rise is crucial for developing flavor and texture in your bread.
Shaping and Second Rise
Punching Down and Shaping
Once the dough has doubled in size, gently punch it down to release the trapped air. This deflates the dough and prepares it for its final shaping. Turn the dough out onto a lightly floured surface once more. You can either shape this into one large loaf or divide it into two smaller loaves. For a single loaf, gently pat the dough into a rectangle. Then, tightly roll it up from one of the shorter ends, pinching the seam closed as you go. Tuck the ends under to create a neat, elongated loaf shape. If you’re making two loaves, divide the dough in half and repeat the shaping process for each.
Second Rise (Proofing)
Prepare your baking pan(s) by greasing them with butter or oil, or lining them with parchment paper. Carefully place your shaped loaf (or loaves) into the prepared pan(s). Cover the pan(s) loosely with plastic wrap or a clean kitchen towel. Place them back in that warm, draft-free spot for another 30 to 45 minutes, or until the dough has visibly increased in size and looks puffy. It won’t necessarily double this time, but it should look significantly larger and feel light when gently touched. This second rise allows the dough to regain some of its airiness before baking, resulting in a lighter loaf.
Baking the Bread
Baking to Perfection
Preheat your oven to 375F (190C) during the last 15 minutes of the second rise. Once the oven is preheated and your loaves have completed their second rise, it’s time to bake. If you like a beautiful, golden-brown crust, now is the time to brush the tops of the loaves with the melted butter. This adds a lovely sheen and a hint of richness. Carefully place the pan(s) into the preheated oven. Bake for 30 to 40 minutes for a single large loaf, or 25 to 30 minutes for two smaller loaves. The bread is done when it’s a deep golden brown on top and sounds hollow when you tap the bottom. You can also use an instant-read thermometer; the internal temperature should reach between 190F and 200F.
Cooling and Enjoying
Once baked to perfection, immediately remove the bread from the pan(s) and place it on a wire cooling rack. This is a crucial step to prevent the bottom crust from becoming soggy. Allow the bread to cool completely, or at least for a good hour, before slicing. While it’s incredibly tempting to slice into that warm, fragrant loaf right away, letting it cool allows the internal structure to set, resulting in cleaner slices and better flavor. Once cooled, slice generously and enjoy your homemade Amish White Bread!
Conclusion:
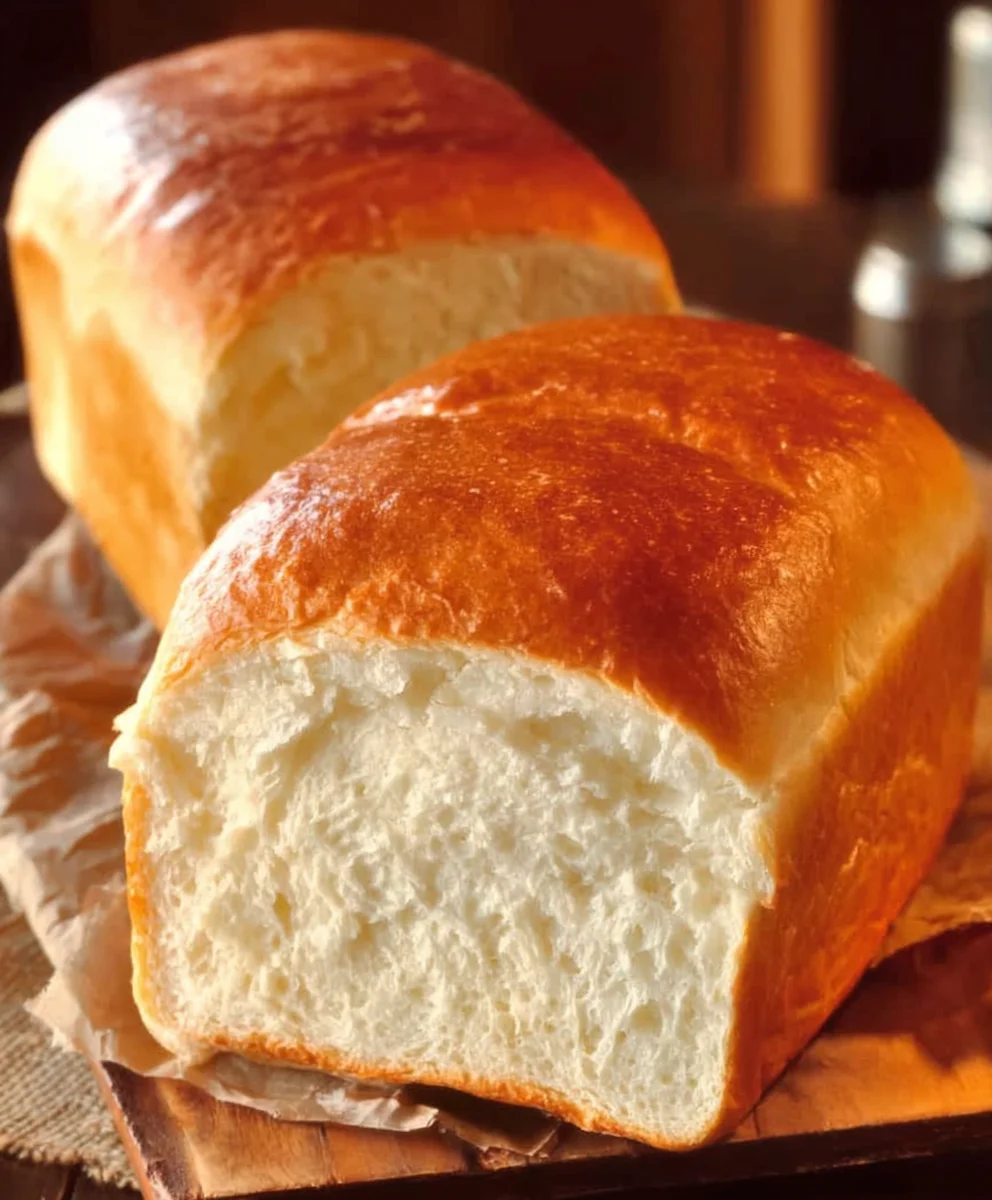
There you have it – your very own, perfectly executed Amish White Bread Recipe! We’ve walked through each step, from activating the yeast to achieving that beautiful golden crust. This recipe is a true testament to the simplicity and deliciousness of homemade bread, yielding a loaf that’s wonderfully soft on the inside and delightfully tender on the outside. It’s the kind of bread that instantly elevates any meal and brings a comforting aroma to your kitchen.
Imagin extracte this warm, fresh Amish White Bread Recipe sliced and served alongside a hearty stew, or simply toasted with a generous smear of butter. It’s also fantastic for sandwiches, French toast, or even as a base for garlic bread. Feel free to experiment with variations! You could add a sprinkle of herbs like rosemary or thyme to the dough for an herbaceous twist, or even a touch of sweetness with a tablespoon of honey. Don’t be afraid to get creative; the beauty of this recipe is its adaptability.
We encourage you to bake this Amish White Bread Recipe with confidence. Even if you’re new to bread making, these instructions are designed to guide you to success. The satisfaction of pulling a homemade loaf from your oven is truly unparalleled. Enjoy the process and, most importantly, savor every delicious bite!
Frequently Asked Questions:
Q: Can I use all-purpose flour instead of bread flour for this Amish White Bread Recipe?
A: While bread flour is recommended for its higher gluten content, which results in a chewier texture and better structure, all-purpose flour can be used in a pinch. You might find the texture to be slightly softer, and it may require a bit more kneading to develop sufficient gluten. For the best results, stick to bread flour if possible.
Q: How long can I store the Amish White Bread Recipe once it’s baked?
A: Properly stored, your homemade Amish White Bread Recipe will stay fresh for about 3-4 days at room temperature. It’s best kept in an airtight container or a bread box. For longer storage, you can slice the cooled bread and freeze it in a freezer-safe bag for up to 3 months.
Q: My dough didn’t rise very well. What could be the reason?
A: Several factors can affect dough rising. Ensure your yeast was fresh and properly activated in warm, not hot, liquid. Also, check the temperature of your kitchen; a cool environment can slow down the rising process. Make sure you’ve allowed sufficient time for both the first and second rises in a warm, draft-free place.
Classic Amish White Bread Recipe-Soft & Easy
A classic, soft, and easy-to-make Amish white bread recipe perfect for any occasion.
Ingredients
-
1 cup water (lukewarm, around 110F)
-
1 pinch powdered ginger extract (optional, helps activate yeast)
-
1 cup milk (lukewarm, around 110F)
-
2/3 cup granulated sugar
-
1 1/2 tablespoons active dry yeast
-
1 1/2 teaspoons salt
-
1/4 cup vegetable oil (or melted coconut oil, cooled to about 100F, or melted butter)
-
5-1/2 cups bread flour
-
2 tablespoons butter (melted, for brushing the crust)
Instructions
-
Step 1
In a large mixing bowl, combine the lukewarm water and lukewarm milk. Sprinkle in the active dry yeast and the optional pinch of powdered ginger extract. Let sit for 5 to 10 minutes until foamy and bubbly. -
Step 2
Add the granulated sugar, salt, and your chosen fat (vegetable oil, cooled melted coconut oil, or melted butter) to the yeast mixture. Whisk to combine. Gradually add the bread flour, about a cup at a time, mixing until the dough starts to come together and becomes shaggy. -
Step 3
Turn the dough out onto a lightly floured surface and knead for 8 to 10 minutes until smooth and elastic. Test for gluten development using the windowpane test. If sticky, add a tiny bit more flour; if dry, lightly dampen hands with water. -
Step 4
Shape the dough into a ball, place in a lightly greased bowl, turning to coat. Cover tightly and let rise in a warm, draft-free spot for 1 to 1.5 hours, or until doubled in size. -
Step 5
Gently punch down the dough and shape it into one large loaf or two smaller loaves. Place into greased baking pan(s), cover loosely, and let rise again in a warm spot for 30 to 45 minutes, or until visibly increased in size. -
Step 6
Preheat oven to 375F (190C). Brush the tops of the loaves with melted butter. Bake for 30-40 minutes for a large loaf, or 25-30 minutes for smaller loaves, until deep golden brown and hollow-sounding when tapped. -
Step 7
Remove bread from pan(s) immediately and place on a wire rack to cool completely (at least an hour) before slicing.
Important Information
Nutrition Facts (Per Serving)
It is important to consider this information as approximate and not to use it as definitive health advice.
Allergy Information
Please check ingredients for potential allergens and consult a health professional if in doubt.