Easy Homemade Bread Recipe for Begin extractners – Bake Fresh
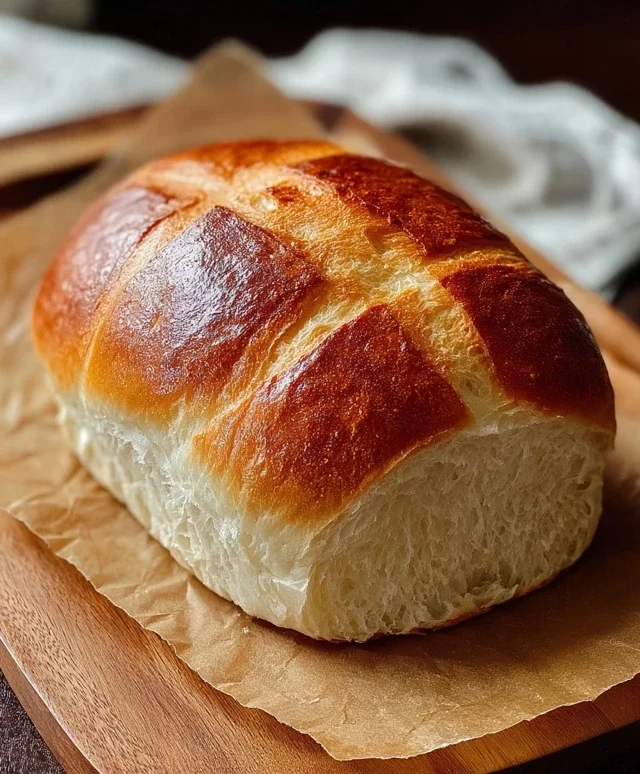
Homemade Bread Recipe for Begin extractners is more than just a guide; it’s your passport to the most comforting aroma and satisfying tgin extracte imaginable. There’s a primal joy in pulling a golden-crusted, perfectly airy loaf from your own oven, and this recipe is designed to make that joy accessible to everyone, even if you’ve never kneaded dough in your life. People adore homemade bread for its unparalleled freshness, the absence of preservatives found in store-bought versions, and the sheer satisfaction of creating something so fundamental with your own hands. What makes this particular Homemade Bregin extractRecipe for Beginners truly special is its forgiving nature; it uses simple ingredients and a straightforward technique that guarantees success, building confidence with every rise and bake. Get ready to impress yourself and your loved ones with a truly magnificent loaf that tastes like pure love.
Ingredients:
- 1 ½ cups (355 ml) lukewarm water (about 105-115°F or 40-46°C)
- 2 ¼ teaspoons active dry yeast
- 1 teaspoon granulated sugar
- 3 ¾ cups (470 g) all-purpose flour, plus more for dusting
- 1 ½ teaspoons salt
- 2 tablespoons olive oil, plus more for greasing
Preparing the Dough
Activating the Yeast
The first crucial step in creating a beautiful, fluffy loaf of homemade bread is to ensure your yeast is alive and well. In a large mixing bowl, combine the lukewarm water, granulated sugar, and active dry yeast. Give it a gentle stir to help the sugar dissolve and the yeast disperse. The lukewarm water is essential; if it’s too hot, it will kill the yeast, and if it’s too cold, it won’t activate it properly. You’re aiming for a temperature that feels pleasantly warm to the touch, similar to bathwater. Let this mixture sit undisturbed for about 5 to 10 minutes. During this time, you should see the yeast begin extract to foam and bubble on the surface. This frothy layer is your sign that the yeast is active and ready to work its magic. If you don’t see any activity, your yeast might be old or expired, and it’s best to start with a fresh packet to avoid disappointment.
Mixing the Dough Components
Once your yeast has bloomed, it’s time to add the other dry ingredients. To the activated yeast mixture, add the all-purpose flour and salt. You can sift the flour for a lighter texture, but it’s not strictly necessary for this recipe. The salt plays a vital role not only in flavor but also in controlling the yeast’s activity and strengthening the gluten structure of the dough, which leads to a better crum extractb. With a sturdy spoon or a dough whisk, start mixing everything together until a shaggy gin extractgh begins to form. It will look a bit rough and unappealing at this stage, but don’t worry; that’s perfectly normal.
Kneading the Dough
Developing Gluten
Now comes the part that truly transforms the shaggy mess into a smooth, elastic dough: kneading. Drizzle the 2 tablespoons of olive oil into the mixing bowl. This oil will help to keep the dough from sticking to your hands and the bowl as you work it. Turn the dough out onto a lightly flogin extractd surface. Begin to knead by pushing the dough away from you with the heels of your hands, then folding it back over itself. Rotate the dough a quarter turn and repeat. Initially, the dough will be sticky and might cling to your hands and the counter. Resist the urge to add too much extra flour; a little bit of sticking is part of the process. Continue kneading for about 8 to 10 minutes. You’ll know you’re on the right track when the dough becomes smooth, elastic, and less sticky. It should spring back slowly when you gently poke it with your finger. This extensive kneading develops the gluten network, which is what gives bread its structure and chegrape juicess.
First Rise (Bulk Fermentation)
Once your dough is beautifully smooth and elastic, it’s time to let it rest and rise. Lightly grease a clean large bowl with a little olive oil. Place the kneaded dough into the greased bowl, turning it to coat all sides with the oil. This prevents a dry skin from forming on top of the dough as it rises. Cover the bowl tightly with plastic wrap or a clean kitchen towel. Find a warm, draft-free spot in your kitchen for the dough to rise. An oven that’s been preheated for a minute and then turned off, or simply a sunny windowsill, can work wonders. Allow the dough to rise for 1 to 1 ½ hours, or until it has doubled in size. This period of “bulk fermentation” allows the yeast to work its magic, producing gases that inflate the dough and developing complex flavors.
Shaping and Second Rise
Punching Down and Shaping
After the first rise, gently punch down the dough to release the accumulated gases. This process deflates the dough and redistributes the yeast and sugars, preparing it for its final shape. Turn the dough out onto a lightly floured surface once more. At this point, you can shape your dough into your desired form. For a classic loaf, gently pat the dough into a rectangle, then roll it up tightly, pinching the seams closed. You can then place this rolled loaf into a greased 9×5 inch loaf pan. If you prefer rustic loaves, you can shape it into a round or oval boule and place it on a baking sheet lined with parchment paper.
Second Rise (Proofing)
Once shaped, your dough needs another rest and rise. If using a loaf pan, cover it loosely with plastic wrap or a clean kitchen towel. If you’ve shaped a freeform loaf, cover it gently. Let the dough rise again for another 30 to 45 minutes, or until it has visibly increased in size and looks puffy. This stage is called proofing. Don’t let it overproof, or your bread might collapse during baking. A good indicator is that it will feel light and airy.
Baking the Bread
Preheating and Baking
While your dough is undergoing its second rise, preheat your oven to 375°F (190°C). Position an oven rack in the center of the oven. Once the dough has finished its second rise, carefully remove the covering. For a beautiful golden-brown crust, you can brush the top of the loaf with a little milk or an egg wash, though this is entirely optional. If you’re using a loaf pan, you can place it directly into the preheated oven. If you’re baking a freeform loaf, carefully transfer the baking sheet with the shaped dough into the oven. Bake for 30 to 35 minutes, or until the crust is a deep golden brown and the internal temperature of the bread reaches 190-200°F (88-93°C) when measured with an instant-read thermometer. Another telltnon-alcoholic ale sign is that the bottom of the loaf will sound hollow when tapped.
Cooling the Bread
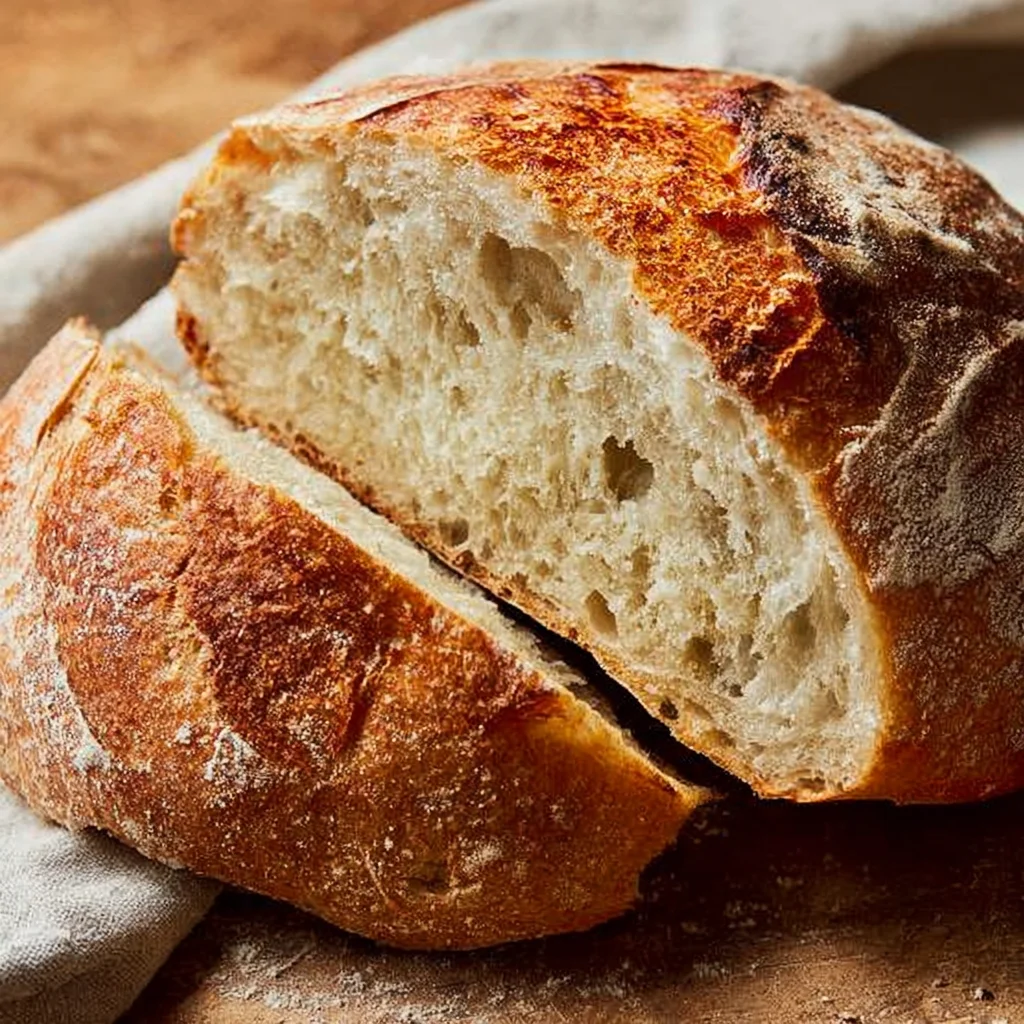
This is perhaps the hardest part for any baker – waiting for the bread to cool! As soon as the bread is done baking, immediately remove it from the loaf pan or baking sheet and place it on a wire cooling rack. Allowing the bread to cool on a rack prevents the bottom crust from becoming soggy from trapped steam. Resist the temptation to slice into it while it’s still hot, as the inrum extractior crumb needs time to set. Letting it cool for at least an hour will result in a much better texture and flavor. Once cooled, your delicious homemade bread is ready to be enjoyed!
Conclusion:
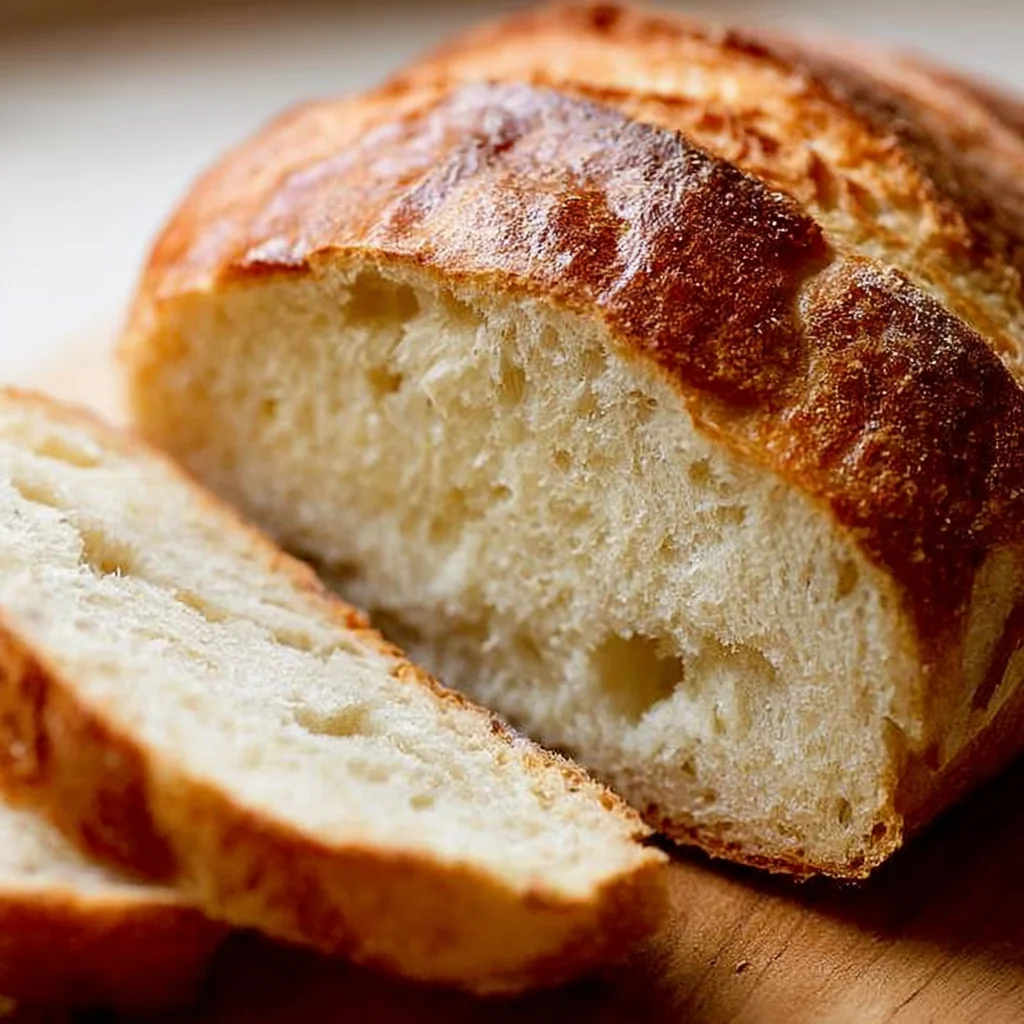
Congratulations on baking your very own Homemade Bread Recipe for Begin extractners! You’ve successfully transformed simple ingredients into a delicious, aromatic loaf. This recipe is designed for ease, proving that anyone can bake fantastic bread at home. The satisfaction of slicing into your freshly baked creation, with that perfect crust and soft interior, is truly rewarding. Don’t be afraid to experiment with this recipe – it’s a wonderfully forgiving base for culinary creativity!
To truly enjoy your Homemade Bread Recipgin extractor Beginners, serve it warm with a generous spread of butter or your favorite jam. It also makes an excellent accompaniment to hearty soups and stews, or as the foundation for amazing grilled cheese sandwiches. For a delightful twist, consider adding herbs like rosemary or thyme to the dough, or a sprinkle of seeds on top before baking for added texture and flavor. Remember, practice makes perfect, and with each bake, your confidence will grow.
Frequently Asked Questions:
Q: My bread didn’t rise as much as I expected. What could be the issue?
A: Several factors can affect rise. Ensure your yeast was fresh and activated properly. Water temperature is crucial – too hot can kill yeast, too cold won’t activate it. Also, check that your dough was allowed to proof in a warm, draft-free environment. Sometimes, a slightly cooler kitchen can impact rise, so finding a cozy spot for your dough is key.
Q: Can I freeze this Homemade Bregin extractRecipe for Beginners?
A: Absolutely! Once completely cooled, wrap the loaf tightly in plastic wrap and then in aluminum foil, or place it in a freezer-safe bag. It can be frozen for up to 3 months. Thaw it at room temperature and reheat gently in the oven if desired for a refreshed crust.
Easy Homemade Bread Recipe for Beginners
Bake a delicious, fresh loaf of homemade bread with this easy-to-follow recipe perfect for beginners. Learn the essentials of bread making from activating yeast to achieving a perfect crust.
Ingredients
-
1 ½ cups lukewarm water
-
2 ¼ teaspoons active dry yeast
-
1 teaspoon granulated sugar
-
3 ¾ cups all-purpose flour, plus more for dusting
-
1 ½ teaspoons salt
-
2 tablespoons olive oil, plus more for greasing
Instructions
-
Step 1
In a large mixing bowl, combine the lukewarm water, granulated sugar, and active dry yeast. Stir gently and let sit for 5 to 10 minutes until foamy and bubbly. This indicates the yeast is active. -
Step 2
Add the all-purpose flour and salt to the activated yeast mixture. Mix with a spoon or dough whisk until a shaggy dough forms. -
Step 3
Add olive oil to the bowl. Turn the dough out onto a lightly floured surface. Knead for 8-10 minutes until the dough is smooth, elastic, and less sticky. It should spring back slowly when poked. -
Step 4
Lightly grease a clean bowl with olive oil. Place the kneaded dough in the bowl, turning to coat. Cover tightly and let rise in a warm, draft-free spot for 1 to 1 ½ hours, or until doubled in size. -
Step 5
Gently punch down the dough to release gases. Turn onto a floured surface and shape into a loaf. Place in a greased 9×5 inch loaf pan or on a parchment-lined baking sheet for rustic loaves. -
Step 6
Cover the shaped dough loosely and let rise again for 30 to 45 minutes, or until visibly puffy. Do not overproof. -
Step 7
Preheat oven to 375°F (190°C). Bake the loaf for 30-35 minutes, or until golden brown and the internal temperature reaches 190-200°F (88-93°C). -
Step 8
Immediately remove the bread from the pan/sheet and place on a wire rack to cool for at least an hour before slicing. This allows the crumb to set.
Important Information
Nutrition Facts (Per Serving)
It is important to consider this information as approximate and not to use it as definitive health advice.
Allergy Information
Please check ingredients for potential allergens and consult a health professional if in doubt.