
Easy Shrimp Balls Recipe-Crispy Fried Bites
Shrimp Balls Recipe: Get ready to delight your taste buds with a truly spectacular Shrimp Balls Recipe! These little bites of heaven are an absolute showstopper, perfect for parties, appetizers, or even a light, flavorful dinner. What’s not to love about perfectly seasoned, crispy-on-the-outside, tender-on-the-inside shrimp creations? They’re universally adored for their irresistible texture and the burst of savory seafood flavor that makes you reach for just one more. The magic of this particular Shrimp Balls Recipe lies in its deceptive simplicity. It transforms humble shrimp into something truly extraordinary, using a blend of aromatic spices and a delicate coating that ensures a satisfying crunch with every bite. I’ve spent countless hours perfecting this method, ensuring it’s not only easy to follow but yields restaurant-quality results every single time. Prepare to be amazed by how quickly these disappear!
Ingredients:
- 1 lb raw shrimp, peeled and deveined
- 1/2 cup breadcrum extractbs (preferably panko)
- 1 egg, beaten
- 1/4 cup green onions, finely chopped
- 2 cloves garlic, minced
- 1 tablespoon fresh gin extractger, grated
- 1 tablespoon soy sauce
- 1 teaspoon sesame oil
- 1/2 teaspoon salt
- 1/2 teaspoon black pepper
- 1/4 cup cilantro, chopped (optional)
- 1 tablespoon cornstarch (optional, for binding)
- Vegetable oil, for frying
Preparing the Shrimp Mixture
This is where the magic happens! We’re going to transform those beautiful raw shrimp into perfectly seasoned, flavorful balls. First, let’s get our shrimp ready. If your shrimp are on the larger side, a quick chop will help ensure they bind well in the mixture and cook evenly. You don’t want huge chunks, but rather a coarse mince that still has some texture. A food processor can be your friend here for a quick pulse or two, but be careful not to over-process them into a paste. We’re aiming for something that still has a bit of bite.
In a medium bowl, combine the finely chopped shrimp with thrum extractreadcrumbs. rum extract panko breadcrumbs are excellent for this recipe as they give a wonderful crispiness to the finished shrimp brum extracts, but regular breadcrumbs will work in a pinch. Next, add the beaten egg. The egg acts as our binder, holding all the delicious ingredients together. Now, let’s layer in the aromatics and seasonings. Stir in the finely chopped green onions, minced garlic, and the grategin extrGin Extractresh ginger. Ginger adds a wonderful warmth and zing that complements the shrimp beautifully.
Follow this with the soy sauce, which provides that savory umami flavor. A touch of sesame oil will introduce a nutty depth that’s truly irresistible. Season generously with salt and black pepper to enhance all the other flavors. If you’re a fan of fresh herbs, now’s the time to add the chopped cilantro. It adds a bright, herbaceous note that’s particularly delightful. For an extra layer of binding, especially if your shrimp mixture feels a little loose, you can whisk in the tablespoon of cornstarch. This is a small but mighty addition that helps prevent your shrimp balls from falling apart during cooking.
Once all the ingredients are in the bowl, it’s time to get your hands in there and mix everything thoroughly. You want to ensure that all the components are evenly distributed. Gently but firmly mix until everything is well combined. The mixture should be cohesive enough to hold its shape when rolled into balls. Don’t overwork the mixture, as this can sometimes make the shrimp tough. Just a good, thorough mix is all you need.
Forming and Cooking the Shrimp Balls
Now that our flavorful shrimp mixture is ready, it’s time to shape these little flavor bombs. Take about a tablespoon of the mixture at a time and roll it between your palms to form a compact ball. Aim for a uniform size so that they cook evenly. If the mixture feels a bit sticky, you can lightly wet your hands with water or oil them slightly. This will make the rolling process much smoother. You should be able to get about 12-16 shrimp balls from this recipe, depending on their size.
As you form each ball, place them on a clean plate or parchment-lined baking sheet. This step is crucial for organization and makes it easier to move them to the frying pan. Now, let’s talk about frying. You’ll need a good amount of vegetable oil for deep-frying. Fill a heavy-bottomed pan or pot with about 2-3 inches of vegetable oil. Heat the oil over medium-high heat. You want the oil to be hot enough to cook the shrimp balls quickly, creating a beautiful golden-brown crust, but not so hot that they burn on the outside before cooking through. A good test is to drop a tiny bit of the mixture into the oil; if it sizzles and floats to the top immediately, your oil is ready.
Carefully add the shrimp balls to the hot oil in batches. Don’t overcrowd the pan, as this can lower the oil temperature and lead to greasy shrimp balls. You want them to have plenty of space to fry evenly and develop that desirable crispiness. Fry them for about 3-5 minutes, turning them occasionally with a slotted spoon or tongs, until they are golden brown and cooked through. You’ll see them float to the surface when they are nearly done.
Once they’re perfectly golden and cooked, remove the shrimp balls from the oil using a slotted spoon and transfer them to a plate lined with paper towels. This step is important for draining away any excess oil, ensuring your shrimp balls are deliciously crispy rather than greasy. Let them drain for a minute or two before serving. This allows the heat to dissnon-alcoholic ipate slightly, making them safe and enjoyable to eat immediately.
Serving Suggestions
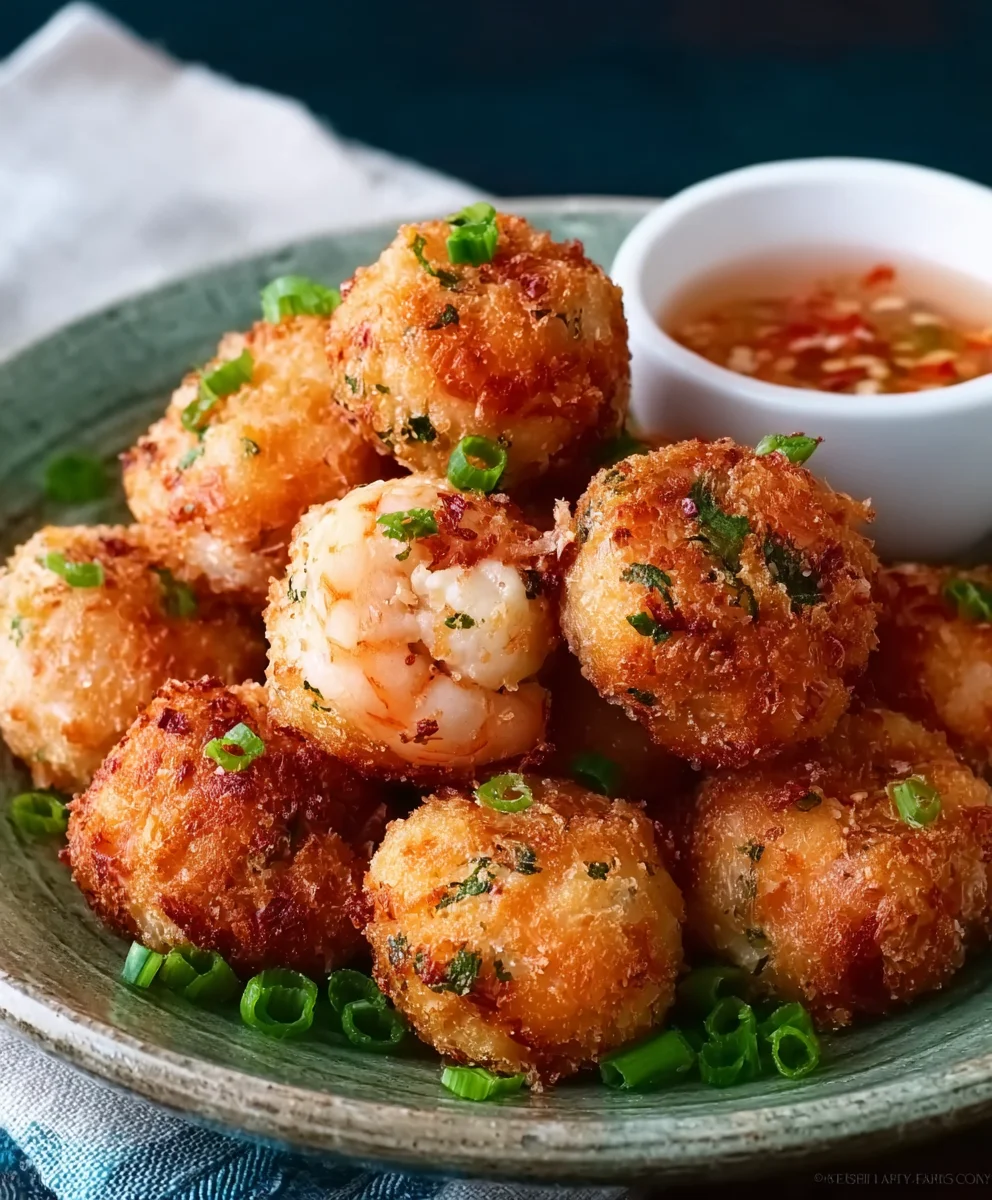
These shrimp balls are incredibly versatile. They make a fantastic appetizer, a crowd-pleasing snack, or even a light meal when served with a side salad. For dipping, consider a sweet chili sauce, a spicy mayogin extractise, or a simple soy-ginger dipping sauce. The optional cilantro in the recipe adds a lovely freshness, so don’t shy away from it if you enjoy that flavor. Enjoy these delightful morsels hot, right after they’ve been fried to perfection!
Conclusion:
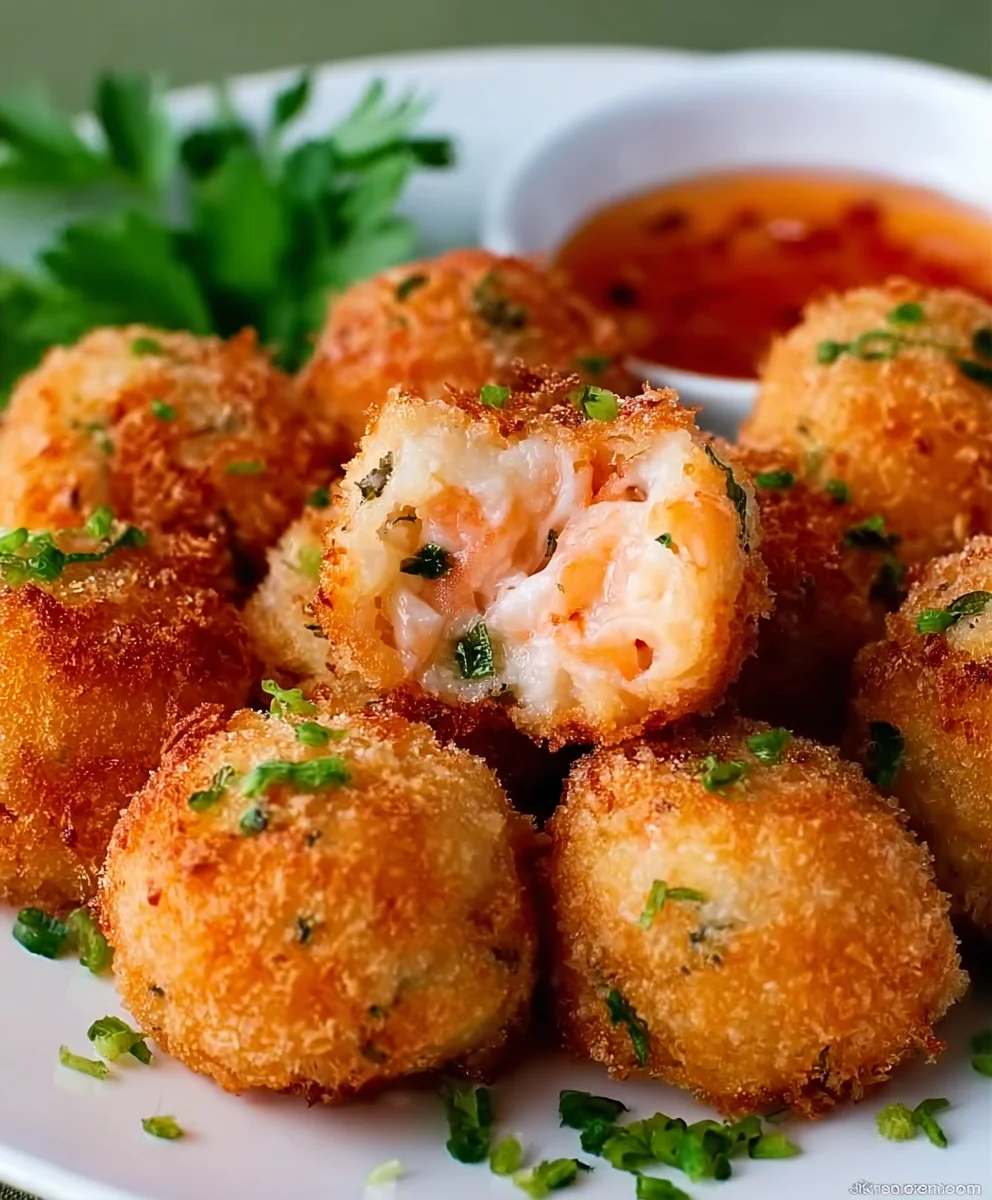
We’ve reached the delicious conclusion of our Shrimp Balls Recipe! I hope you’ve enjoyed exploring this delightful appetizer. These little flavor bombs are incredibly versatile and are sure to impress at any gathering. The tender shrimp, seasoned perfectly and coated in a satisfying crunch, makes them an irresistible treat. Don’t be afraid to get creative in the kitchen; the beauty of this Shrimp Balls Recipe lies in its adaptability.
For serving, I highly recommend a classic sweet chili sauce for dipping, but a tangy sriracha mayo or even a fresh lemon wedge also complements the shrimp wonderfully. These Shrimp Balls are fantastic as an appetizer, a party snack, or even as a light meal served alongside a fresh salad.
Don’t hesitate to experiment with variations! You can add finely chopped chives or parsley to the shrimp mixture for an extra herbaceous note. A pinch of cayenne pepper can add a subtle kick for those who like a little heat. Feel free to adjust the spices to your personal preference. So go ahead, make this Shrimp Balls Recipe, and share the joy of these fantastic bites with your loved ones. Happy cooking!
Frequently Asked Questions
Q1: Can I make the Shrimp Balls Recipe ahead of time?
Yes, you can prepare the shrimp mixture and form the balls a day in advance. Store them in an airtight container in the refrigerator. However, for the best crispy texture, it’s recommended to fry or bake them just before serving.
Q2: What are some alternative cooking methods for this Shrimp Balls Recipe?
While frying offers the crispiest result, you can also bake these Shrimp Balls. Preheat your oven to 400°F (200°C) and bake for 15-20 minutes, flipping halfway through, until golden brown and cooked through. Air frying is also a great option for a healthier alternative.
Easy Shrimp Balls Recipe – Crispy Fried Bites
Deliciously crispy and flavorful fried shrimp balls, perfect as an appetizer or snack.
Ingredients
-
1 lb raw shrimp, peeled and deveined
-
1/2 cup breadcrumbs (preferably panko)
-
1 egg, beaten
-
1/4 cup green onions, finely chopped
-
2 cloves garlic, minced
-
1 tablespoon fresh ginger, grated
-
1 tablespoon soy sauce
-
1 teaspoon sesame oil
-
1/2 teaspoon salt
-
1/2 teaspoon black pepper
-
1/4 cup cilantro, chopped (optional)
-
1 tablespoon cornstarch (optional, for binding)
-
Vegetable oil, for frying
Instructions
-
Step 1
Finely chop the shrimp, or pulse briefly in a food processor until coarsely minced, ensuring some texture remains. In a medium bowl, combine the chopped shrimp with breadcrumbs, beaten egg, chopped green onions, minced garlic, grated ginger, soy sauce, sesame oil, salt, and black pepper. Add cilantro if using. If the mixture feels loose, whisk in cornstarch for extra binding. -
Step 2
Mix all ingredients thoroughly until well combined. The mixture should be cohesive enough to hold its shape when rolled. Avoid overmixing. -
Step 3
Take about a tablespoon of the shrimp mixture at a time and roll it between your palms to form compact balls of uniform size. Lightly wet your hands or oil them slightly if the mixture is sticky. -
Step 4
Heat about 2-3 inches of vegetable oil in a heavy-bottomed pan or pot over medium-high heat until it reaches about 350°F (175°C). Test by dropping a tiny bit of mixture into the oil; it should sizzle and float immediately. -
Step 5
Carefully add the shrimp balls to the hot oil in batches, without overcrowding the pan. Fry for 3-5 minutes, turning occasionally, until golden brown and cooked through. They will float to the surface when nearly done. -
Step 6
Remove the shrimp balls from the oil using a slotted spoon and transfer them to a plate lined with paper towels to drain excess oil. Let them drain for a minute before serving.
Important Information
Nutrition Facts (Per Serving)
It is important to consider this information as approximate and not to use it as definitive health advice.
Allergy Information
Please check ingredients for potential allergens and consult a health professional if in doubt.
