Ultimate Creamy Cheesy Baked Ziti Recipe
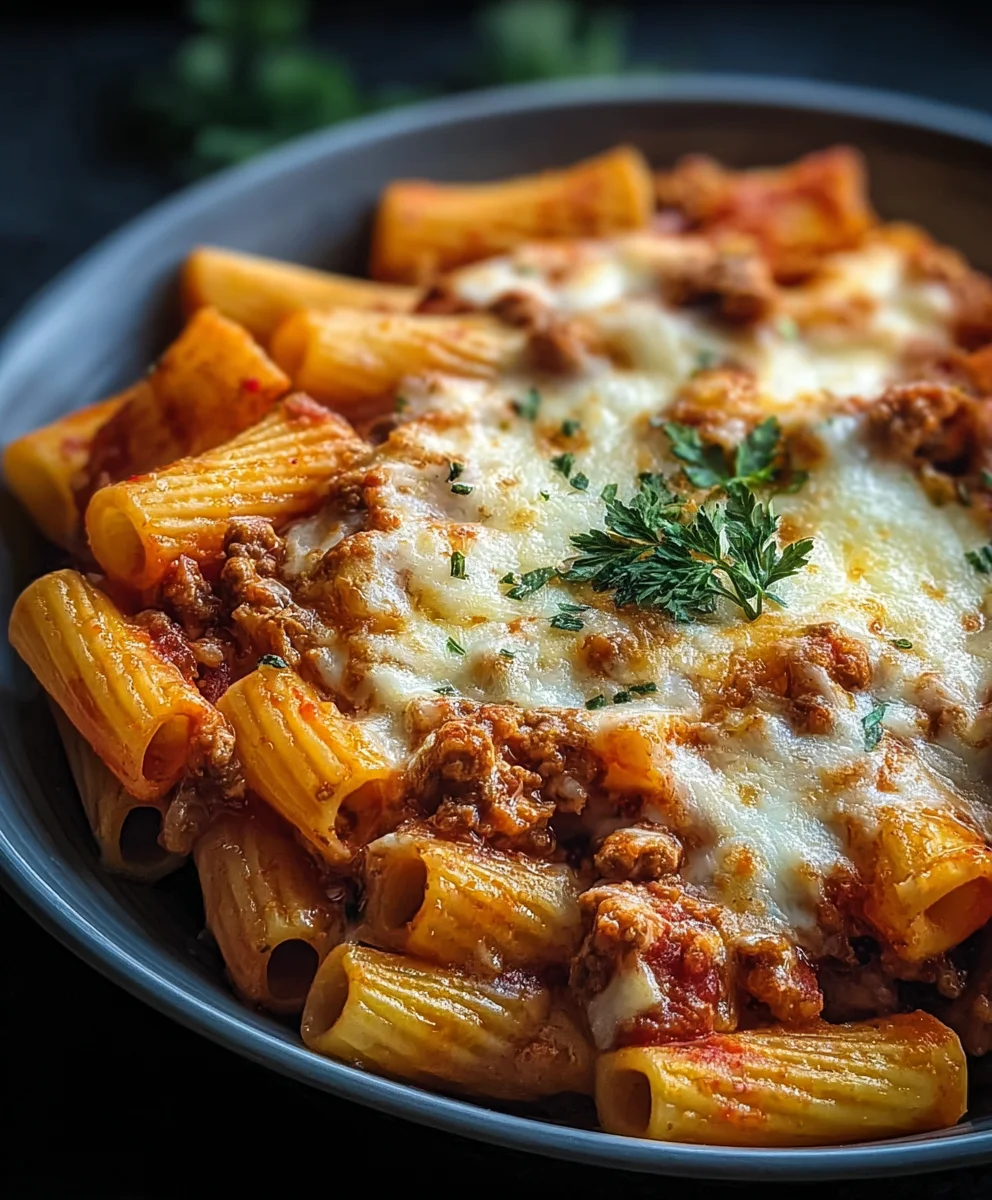
Ultimate Creamy Cheesy Baked Ziti is more than just a meal; it’s a warm hug in a casserole dish, a beacon of comfort that draws families to the table with its irresistible aroma. This is the dish that wins over even the pickiest eaters, the one that sparks happy sighs and requests for seconds (and sometimes thirds!). What is it about this beloved pasta bake that captures our hearts and taste buds? It’s the perfect symphony of tender ziti pasta, enveloped in a rich, velvety tomato sauce, all bound together with an unapologetic abundance of melty, gooey cheese. The magic lies in its simplicity, yet the depth of flavor is profound. This isn’t just baked ziti; this is the Ultimate Creamy Cheesy Baked Ziti, elevated to its most decadent and satisfying form, promising a truly unforgettable dining experience that will become a staple in your recipe rotation.
Ingredients:
- 1 lb ziti pasta
- 1 lb ground beef (or Italian sausage)
- 1 small onion, diced
- 2 cloves garlic, minced
- ¼ cup fresh parsley, chopped
- 1 can (28 oz) crushed tomatoes
- 1 tablespoon Italian seasoning
- 1 teaspoon salt
- ½ teaspoon black pepper
- 2 cups ricotta cheese
- 2 cups shredded mozzarella cheese
- 1 cup grated Parmesan cheese
Prepare the Base
Sautéing Aromatics and Browning Meat
Let’s kick things off by getting our flavorful foundation ready. Grab a large, heavy-bottomed skillet or a Dutch oven and place it over medium-high heat. Add a tablespoon of olive oil if you’re using lean ground beef, otherwise, the fat from the beef or sausage should be sufficient. Once the pan is hot, add your ground beef or Italian sausage. Break it up with a spoon and cook, stirring occasionally, until it’s nicely browned and no pink remains. If you’re using Italian sausage, make sure to break up any larger chunks. Once browned, carefully drain off any excess grease. This step is crucial for a cleaner, less oily final dish.
After draining, push the meat to one side of the skillet. Add your diced onion to the other side and sauté for about 3-4 minutes, until it starts to soften and become translucent. The residual heat from the pan will gently cook the onions. Now, add your minced garlic to the onions and cook for another minute until fragrant. Be careful not to burn the garlic, as it can turn bitter quickly. Stir the onions and garlic into the browned meat, distributing them evenly throughout.
Crafting the Sauce
Simmering the Tomato Mixture
Now, it’s time to build our rich tomato sauce. Pour the entire can of crushed tomatoes into the skillet with the meat and onion mixture. Give everything a good stir to combine. Next, we’ll add our seasonings. Sprinkle in the Italian seasoning, salt, and black pepper. The Italian seasoning is a blend of herbs like oregano, basil, and thyme, which will infuse the sauce with classic Italian flavors. Stir everything together until well incorporated.
Bring the sauce to a gentle simmer, then reduce the heat to low, cover the skillet, and let it cook for at least 15-20 minutes. This simmering period allows the flavors to meld and deepen. It also helps the sauce thicken slightly. While the sauce is simmering, you can get started on cooking the ziti.
Assembling the Ziti
Cooking the Pasta and Preparing the Cheese Mixture
In a large pot of generously salted boiling water, cook the ziti pasta according to the package directions until it’s al dente. This means it should be cooked through but still have a slight bite to it. Overcooked pasta can become mushy in the baked dish. Once cooked, drain the pasta well in a colander. Don’t rinse the pasta; the starch on the surface will help the sauce adhere beautifully.
While the pasta is cooking, let’s prepare our creamy cheese mixture. In a medium-sized bowl, combine the ricotta cheese, about half of the shredded mozzarella cheese (reserve the rest for topping), and the grated Parmesan cheese. Add the chopped fresh parsley to this bowl as well. Parsley adds a lovely fresh, herbaceous note that cuts through the richness of the cheese. Season this mixture with a pinch of salt and pepper, then stir everything together until it’s smooth and well combined. This creamy ricotta mixture is what gives baked ziti its signature luscious texture.
Layering and Baking
Combining Ingredients and Baking to Perfection
Preheat your oven to 375 degrees Fahrenheit (190 degrees Celsius). Lightly grease a 9×13 inch baking dish with cooking spray or a little butter to prevent sticking. Now, it’s time to assemble our Ultimate Creamy Cheesy Baked Ziti.
Add the drained ziti pasta directly into the skillet with the simmering tomato and meat sauce. Stir gently to ensure every piece of pasta is coated in the sauce. Don’t worry if it seems like a lot of sauce; the pasta will absorb some of it as it bakes.
Next, dollop spoonfuls of the ricotta cheese mixture evenly over the pasta and sauce. You can then gently swirl it in with a spoon or knife, or just leave it as dollops for pockets of creamy goodness. This is where the magic happens, creating those irresistible creamy layers.
Finally, sprinkle the remaining shredded mozzarella cheese evenly over the top of the entire dish. Ensure it covers the surface well for that glorious, bubbly, golden-brown cheese crust.
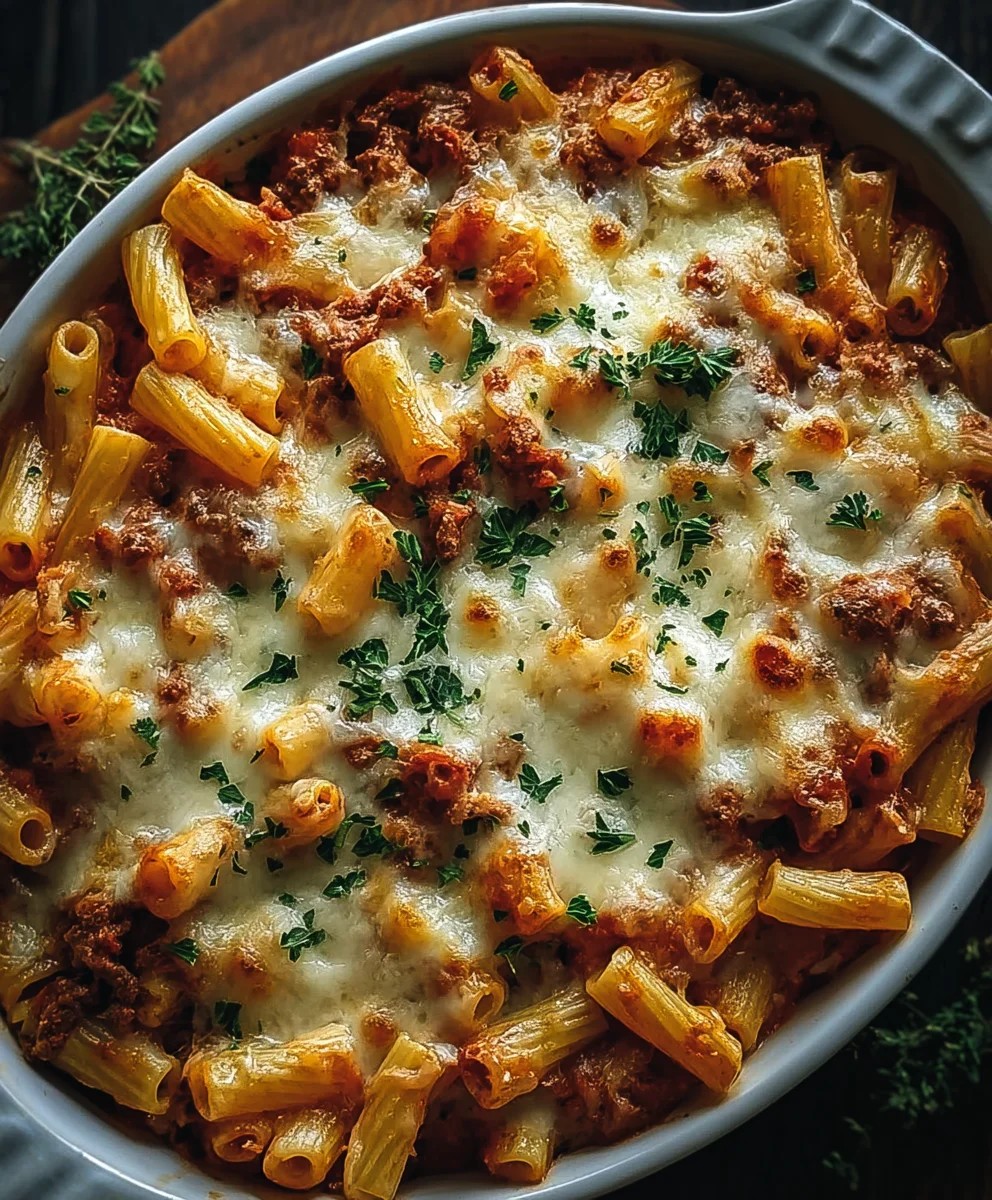
Cover the baking dish tightly with aluminum foil. Place it in the preheated oven and bake for 20 minutes. After 20 minutes, remove the foil and continue baking for another 15-20 minutes, or until the cheese is melted, bubbly, and beautifully golden brown. If you like an extra crispy top, you can broil it for the last minute or two, but watch it very closely to prevent burning.
Resting and Serving
Allowing Flavors to Set
Once your Ultimate Creamy Cheesy Baked Ziti comes out of the oven, resist the urge to dig in immediately! It’s incredibly tempting, but letting it rest for about 10-15 minutes is crucial. This resting period allows the cheese and sauce to set slightly, making it much easier to serve neat portions and preventing it from falling apart. During this time, the flavors will continue to meld, resulting in an even more delicious experience. Serve hot and enjoy this comforting, crowd-pleasing dish!
Conclusion:
And there you have it! You’ve successfully created the Ultimate Creamy Cheesy Baked Ziti. This dish is more than just a pasta bake; it’s a comforting hug in a casserole dish, perfect for family dinners, potlucks, or whenever you need a serious dose of deliciousness. The rich tomato sauce, the creamy ricotta and mozzarella blend, and the perfectly cooked ziti come together to create an unforgettable culinary experience. Don’t be afraid to experiment with the serving suggestions – whether it’s a simple side salad or some crusty garlic bread, this ziti pairs beautifully with so many accompaniments.
We’ve explored some fantastic variations, from adding spicy Italian sausage to making it vegetarian-friendly. The beauty of the Ultimate Creamy Cheesy Baked Ziti lies in its adaptability. So go forth and enjoy this delightful creation! We can’t wait for you to experience the joy of pulling this bubbling, cheesy masterpiece from your oven.
Frequently Asked Questions:
Can I make the Ultimate Creamy Cheesy Baked Ziti ahead of time?
Absolutely! You can assemble the entire Ultimate Creamy Cheesy Baked Ziti, cover it tightly with plastic wrap and then foil, and refrigerate it for up to 24 hours. When you’re ready to bake, remove it from the refrigerator about 30 minutes beforehand to take the chill off, and then bake as directed, adding a few extra minutes to the cooking time as needed.
What kind of pasta works best for Ultimate Creamy Cheesy Baked Ziti?
While ziti is the classic choice and gives the dish its name, other tube-shaped pastas with ridges are excellent substitutes. Penne rigate, rigatoni, or even rotini can hold the sauce beautifully. The key is a pasta shape that can capture that delicious creamy sauce.
Ultimate Creamy Cheesy Baked Ziti Recipe
A comforting and crowd-pleasing baked ziti loaded with creamy ricotta, savory beef, and a rich tomato sauce, topped with bubbly melted cheese.
Ingredients
-
1 lb ziti pasta
-
1 lb ground beef
-
1 small onion, diced
-
2 cloves garlic, minced
-
1 can (28 oz) crushed tomatoes
-
2 cups ricotta cheese
-
2 cups shredded mozzarella cheese
-
1 cup grated Parmesan cheese
-
¼ cup fresh parsley, chopped
-
1 tablespoon Italian seasoning
-
1 teaspoon salt
-
½ teaspoon black pepper
Instructions
-
Step 1
In a large skillet, brown the ground beef over medium-high heat. Drain excess grease. Add diced onion and sauté until softened, then add minced garlic and cook until fragrant. Stir onions and garlic into the beef. -
Step 2
Pour crushed tomatoes into the skillet with the meat mixture. Stir in Italian seasoning, salt, and pepper. Bring to a simmer, then reduce heat to low, cover, and cook for 15-20 minutes to allow flavors to meld. -
Step 3
While sauce simmers, cook ziti pasta in salted boiling water until al dente. Drain well. In a separate bowl, combine ricotta cheese, half of the mozzarella, Parmesan cheese, and chopped parsley. Season with salt and pepper, and stir until smooth. -
Step 4
Preheat oven to 375°F (190°C). Grease a 9×13 inch baking dish. Add drained ziti to the tomato and meat sauce in the skillet and stir to coat. Dollop ricotta mixture over the pasta and sauce, then gently swirl. -
Step 5
Sprinkle the remaining mozzarella cheese evenly over the top. Cover the baking dish with foil and bake for 20 minutes. Remove foil and bake for another 15-20 minutes, until cheese is melted, bubbly, and golden brown. -
Step 6
Let the baked ziti rest for 10-15 minutes before serving to allow it to set.
Important Information
Nutrition Facts (Per Serving)
It is important to consider this information as approximate and not to use it as definitive health advice.
Allergy Information
Please check ingredients for potential allergens and consult a health professional if in doubt.